

It’s Weird, But It Makes 3D Prints Look Better
From Switch and Click · · 21 min
The player loads from YouTube only when you click. It uses YouTube's privacy-enhanced mode.
If the video does not play, the owner may have turned off embedding. Watch it on YouTube instead.
Description
Thanks to Snapmaker for sponsoring this video! Say goodbye to filament waste with the Snapmaker U1, a 4-toolhead 3D printer that swaps colors in just 5 seconds with zero purge waste. Get yours at a discount using our link: https://snapmaker.sjv.io/VO96eM
Products shown (affiliate): Polymaker PolySmooth PVB Filament: https://geni.us/dAlM9 Smooth-On XTC-3D High Performance Print Coating: https://geni.us/VYHl
Free resources: Ironing Calibration Test (MakerWorld): https://makerworld.com/en/models/175615-ultimate-ironing-test-das-original?from=search#profileId-498818
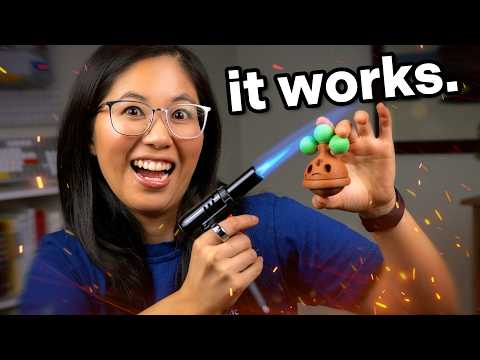
There's nothing that screams "3D printed" quite like thick, visible layer lines and a dingy plastic sheen. I love printing gadgets and custom toys, but I was sick of my prints looking too cheap to gift, and I definitely didn't have three hours to spend sanding and priming. So, I set off on a quest to find the best hands-off slicer settings, filament tricks, and quick post-processing hacks to make FDM prints look genuinely premium.
If you have any feedback for our videos, sponsors, or otherwise, email feedback@switchandclick.com
Written by: Abi Edited by: Ven
OTHER PLATFORMS --------------------------------------------------- Instagram: https://instagram.com/switch_and_click TikTok: https://tiktok.com/@switchandclickofficial Discord: https://discord.gg/9jqnnFwWpV
As an Amazon Associate I earn from qualifying purchases. Links starting with geni.us will most likely lead to Amazon.
No single video is fully sponsored or a paid promotion. All sponsored relationships are fully disclosed in the videos. Some hardware is sent for review and kept.